Simple File/Printer Sharing Between XP/W7
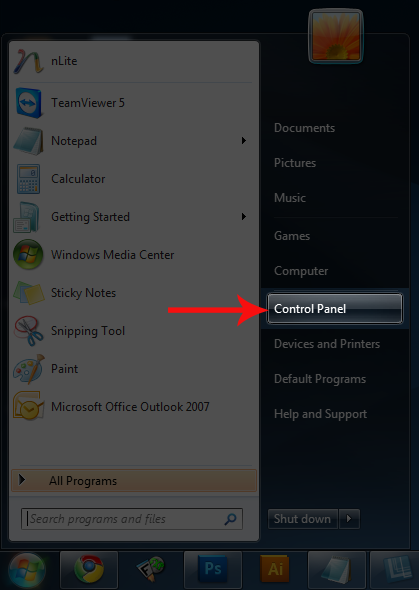
On the PC running Windows 7, click the start button.

Navigate to Control Panel.
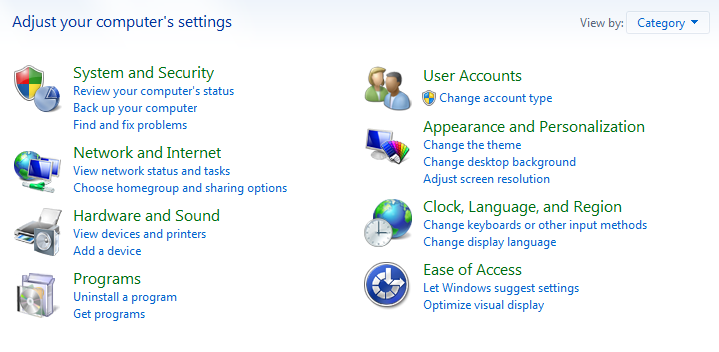
The Control Panel will open.
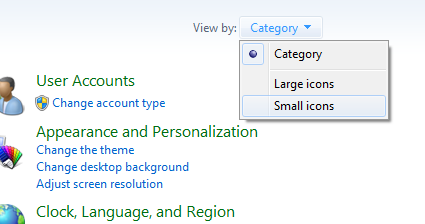
View the Control Panel items by small icons.
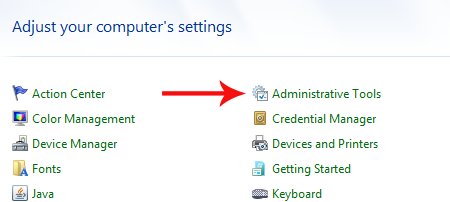
Click ‘Administrative Tools.’
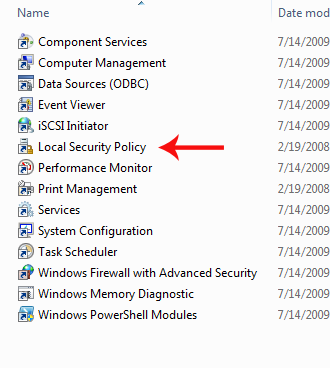
Click ‘Local Security Policy.’
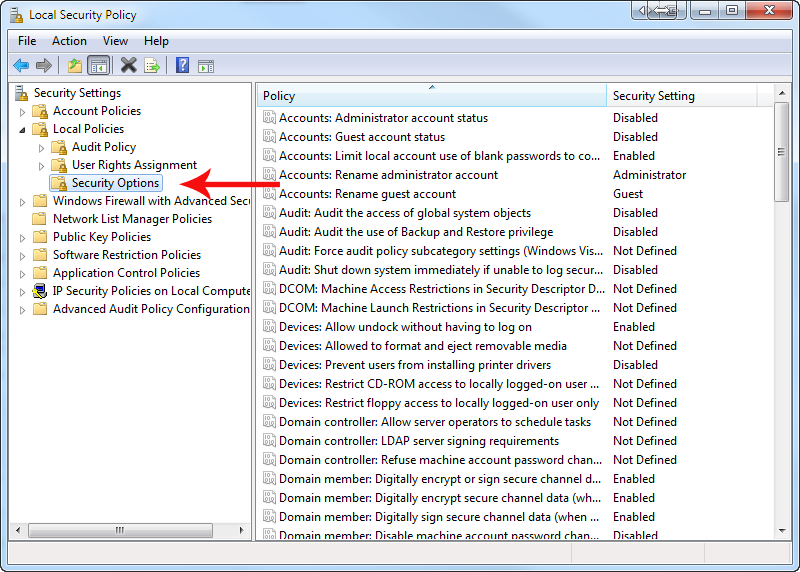
In the left-hand pane, click ‘Local Policies’, then ‘Security Options.’
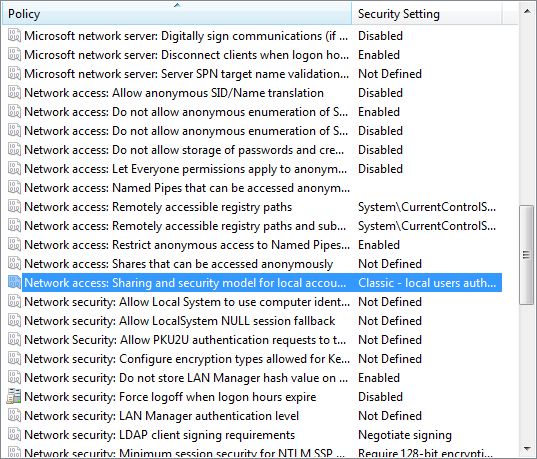
On the right-hand side, scroll down to ‘Network Access: Sharing and Security Model for Local Accounts’.
Double click this item.
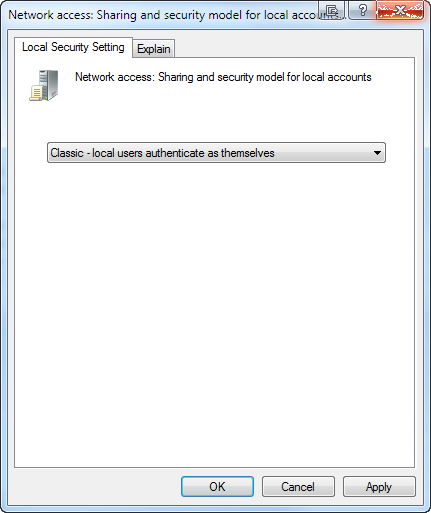
In this menu, select ‘Classic – local users authenticate as themselves’ from the drop-down.
Click ‘Apply’, then click ‘OK’.
On the XP machine, click START. Click RUN. Type ” followed by the Windows 7 computer name. (Find this by right-clicking ‘My Computer’ and clicking ‘Properties.’) Press Enter.
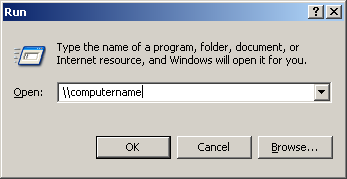
You will now see a list of shared files and printers on the Windows 7 machine.

